It's been a skateboard manufacturing shop for the past couple of weeks around here!
It all started while watching skateboard videos on Youtube. It looked like so much fun riding a longboard skateboard along the sidewalk by the beach or racing down a hill and sliding around corners. I thought that I might like to have one for myself and cruise the paved trails or take it to a park and ride the sidewalks.
After a bit of internet research and
another video found on the 'tube, I decided to venture out and make one, not just for me but, for everyone. Well, as anyone with a "large" family knows, just one board isn't going to cut it when the kids start to ride. It's not as fun to skate by yourself as it is with someone else so, having a 2nd board is a good idea. So soon after the first boards success, a 2nd board was started. When a particular board gets "assigned" to a specific child, them all of a sudden everyone's creative juices get flowing and all of the "orders" for more assigned boards, start to come flooding in!
What is a dad to do?
That's right, go get some more wood and hardware and start a board making business run out of the shop right at the house!
The 2nd board to be made was April's pink bubble board. Third and fourth were Christopher and Amy's boards. We don't have a name for Christopher's but I like to call Amy's the Ironing Board! Can you see why?
Next on the list was a board just for me! Of course mine had to be made from hardwoods to be displayed on the itself and not painted. We don't want to cover the beauty of the wood!
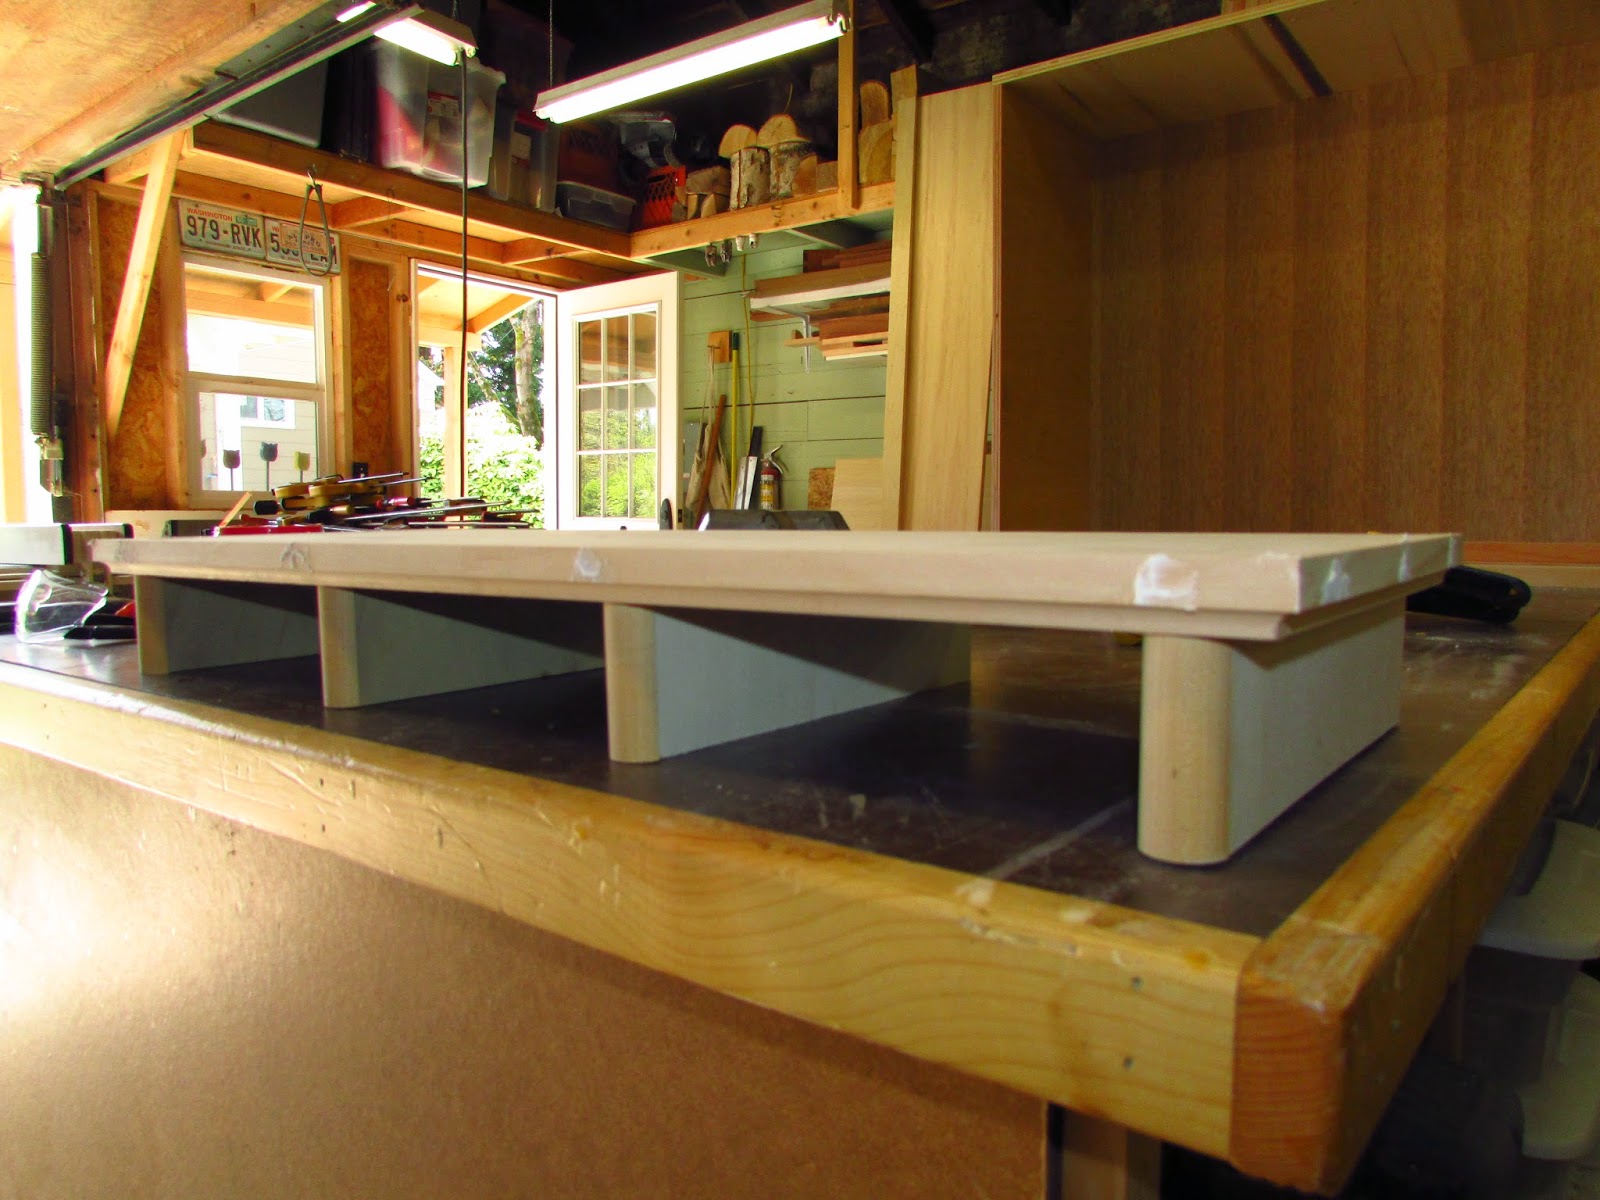
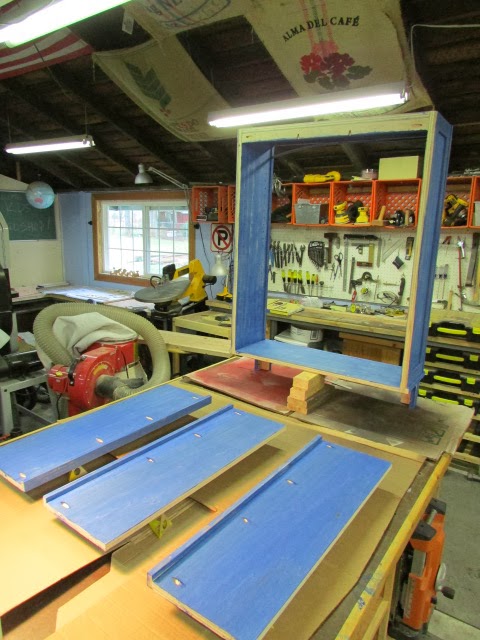
The kid's boards started out as 2x4's. I cut them in half (2 4' pieces), planed the faces and ripped them down into strips. Next, the strips were glued into a plank. A pattern was draw full scale on a piece of paper then cutout and applied to the plank that had been planed again, after the glue was dry, to 5/8" thick.
Off to the bandsaw to cut out the shape and then some sanding with the disk sander to refine the final shape. Soon was some more hand sanding then paint and a spray lacquer over the top of that. Install the
trucks, wheels and some grip tape to the top and away we go!